Kitenge – Fabric from Africa

I enjoy traveling and a personal goal is to travel to a new country every year. I like trying out new food, getting away, and experiencing a sliver of life in another country. I some cases I also end up shopping for fabric. One of my favorite memories is shopping for saris in India on a trip in 2007. I was in Chennai with some of my sorority sisters for a wedding. The sari shop was a multi-floor store with floor to ceiling shelves around the entire room. A counter ran all the way around the store. We sat at the counter and pointed at different saris we wanted to see. It was amazing because the color combinations and woven patterns on every sari were different. The shop attendant would (magically) grab two corners of the folded sari, pull and snap the sari open. It would then drift down to the counter for us to admire the detail. I walked away with a beautiful orange and green sari that I wore to the wedding and have worn since we got back.

This slideshow requires JavaScript.

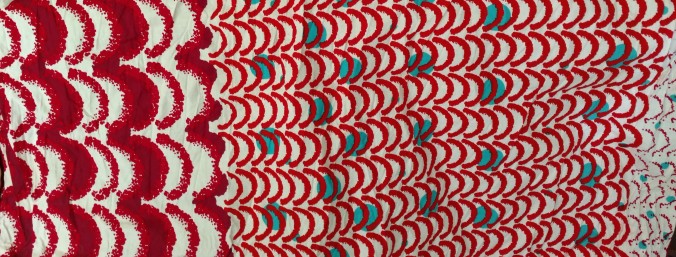
More recently, my younger sister had been living in Kenya doing work in Water and Sanitation. She got into quilting earlier than I did and helped me in the beginning. One of the things she discovered in her work and travel in Africa is the kitenge fabric. It is popular in East Africa and is created using the batik technique. They have patterns that range in size from small and dense to large and graphic. Similar to the saris in India, every kitenge that I’ve seen uses different colors and patterns. I was lucky that my sister started collecting this especially on her trips to Nigeria where the selection seemed to be more diverse. I was quite happy when I got a box FULL of kitenge fabric for my birthday. I also received kitenge for Christmas and when we made it out to see her in Kenya last July. I have at least 20 different kinds of fabric ranging from 2 to 6 yards. It is enough to last a lifetime. I’ve included below a small selection of the fabric.

IMG_20160628_184031554 (2)

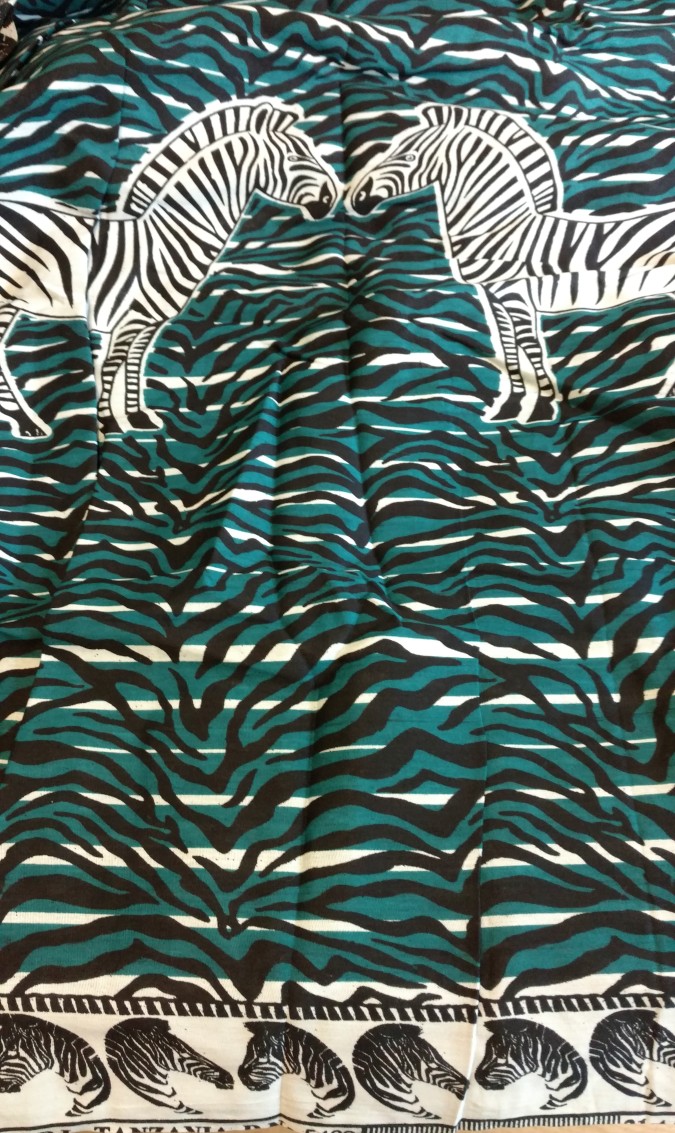
Zebra kitenge that I bought in Kenya

IMG_20160628_184104357

Bold, big pattern kitenge

IMG_20160628_184209972

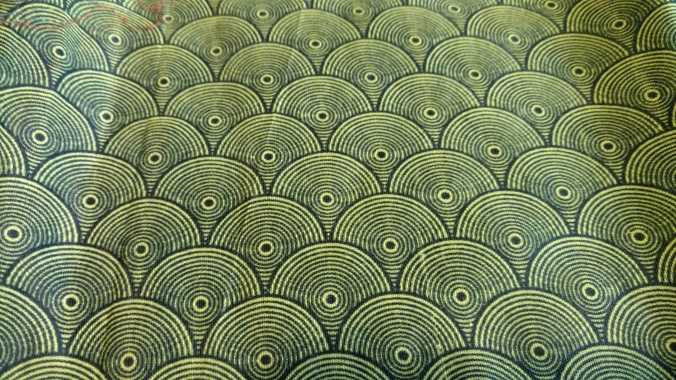
Smaller, two color pattern (each circle is 1.5″ across)

IMG_20160628_184255318

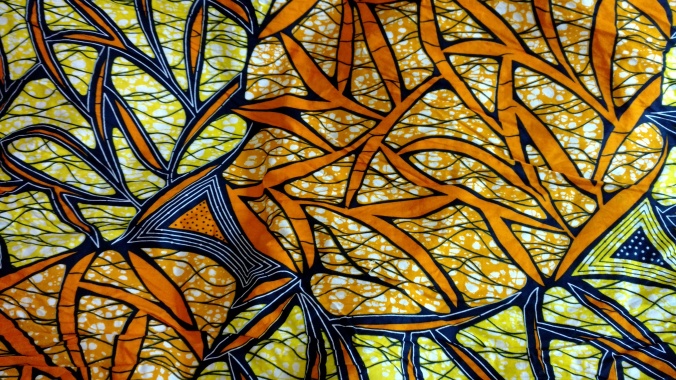
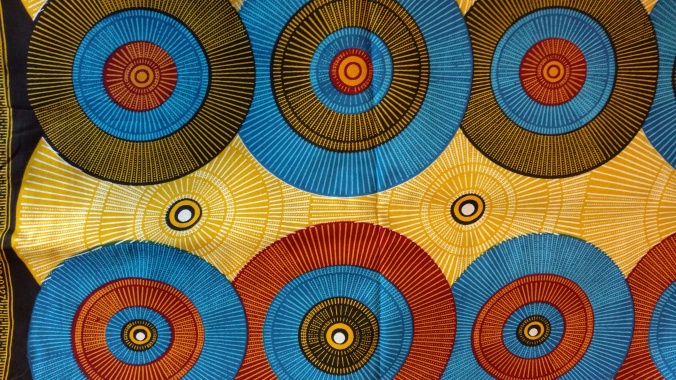
Orange, navy and yellow kitenge (I enjoy the mix of geometric and organic elements)

IMG_20160628_184147334

Bigger pattern in teal and navy

IMG_20160628_184500881 (2)

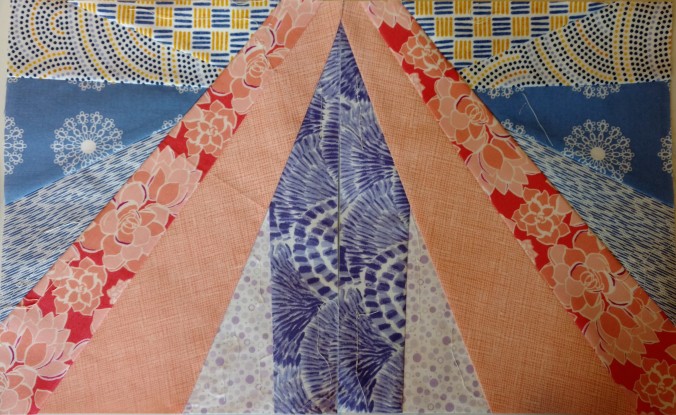
One of my favorite patterns (with gold flecks that don’t show up here)

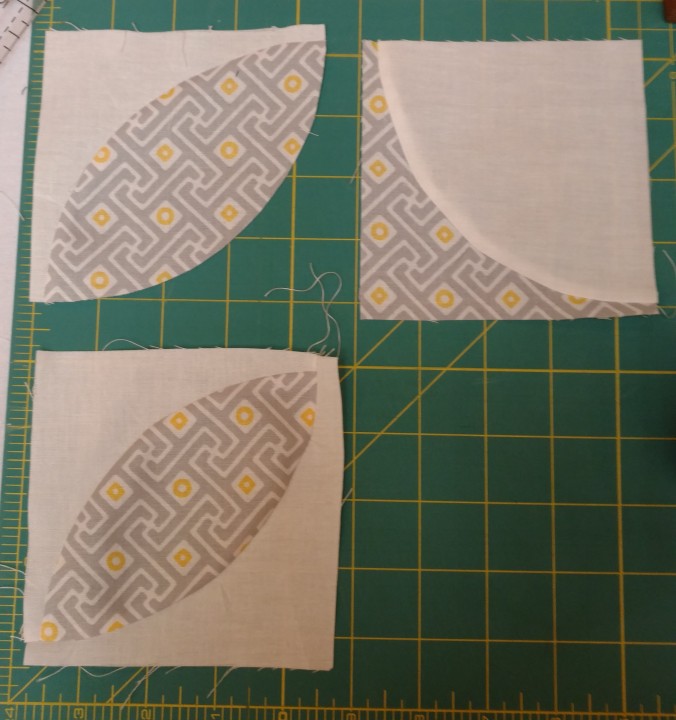
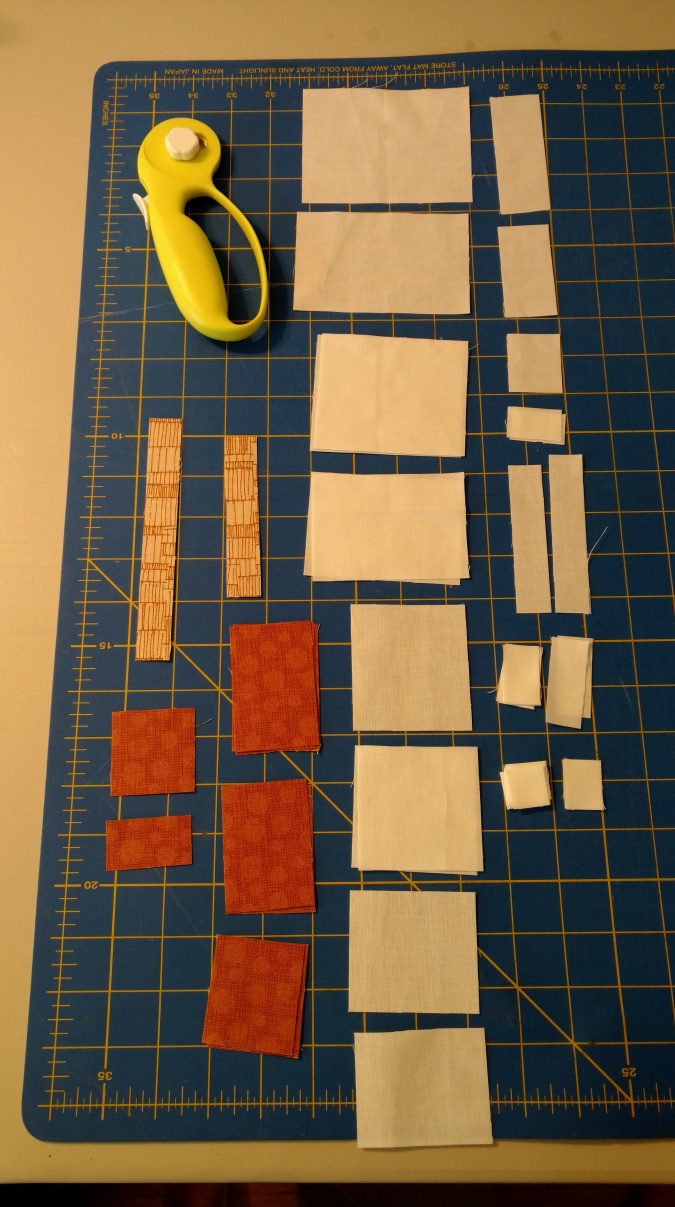
So, the challenge becomes what to do with this fabric, especially because of the big patterns. Most of the quilts I design or create have smaller pieces and I worried that it would lose the impact of the pattern. I decided to design an applique pattern with ladies to show off the patterns and put them into a snowball block. I’ve created a sample lady with other fabric. Here is the first one.

IMG_20160628_183810933 (2).jpg

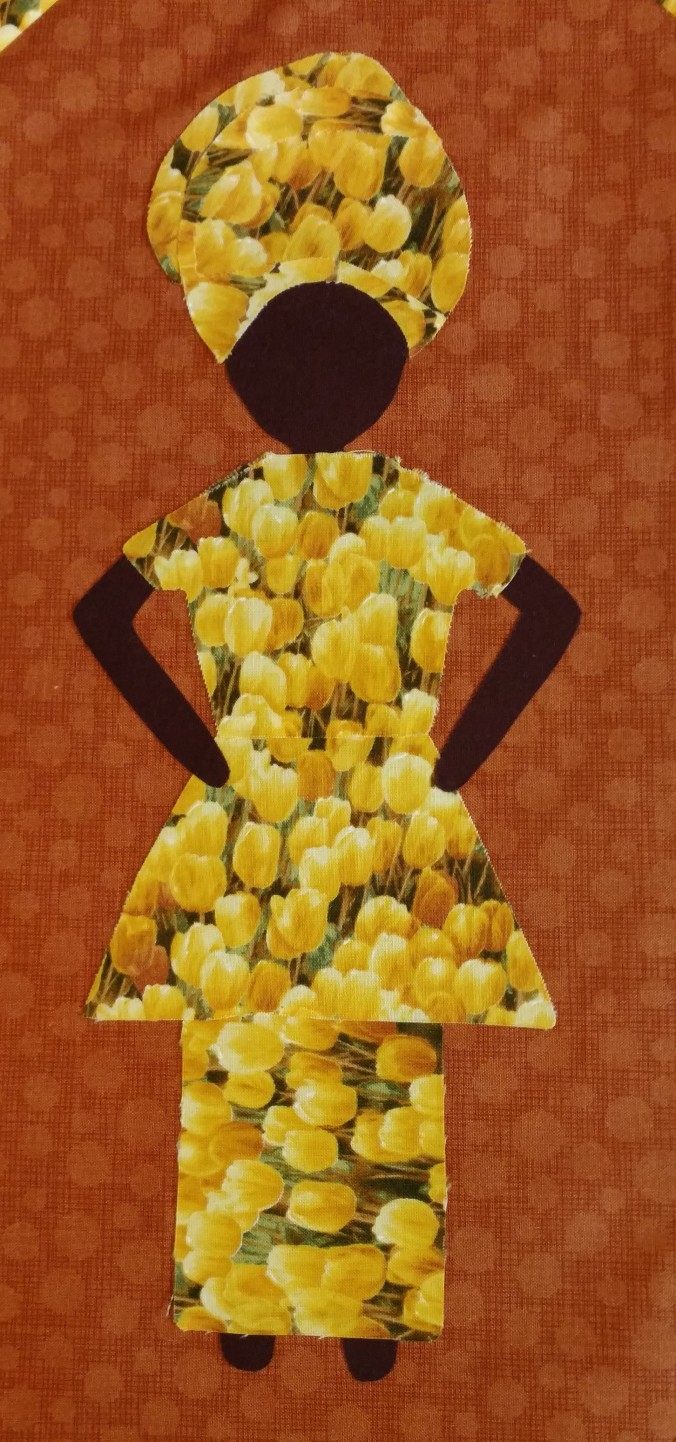
I’ve now created 18 other ladies using the kitenge fabric. I’m working on cutting out the background fabric and all the strips for the snowball blocks surrounding the ladies. I’ll show pictures as I make more progress.

Paper Pieced Feather – Part II

Last week I showed the first part of the process. This week, I’ll show the next steps from here. After the testing pieces, I continued by using the straight edge to draw all of the stitch lines onto the paper.

IMG_20160611_100748064.jpg

I cut apart the pattern and noted the order to sew them back together.

IMG_20160612_131927578 (2)

Then I measured all of the pieces in each block. To do this, I measured the size within the drawn lines (blue) and then added .5 inches in both directions for seam allowance (green). I rounded up to the nearest quarter inch to make cutting easier.

IMG_20160612_131927578 (3)

I took all of these measurements and entered them into Excel. This allowed me to use Pivot Tables to determine the lengths of fabric that I needed to cut for each width. (F stands for feather fabric, S for stem fabric, and B for background fabric.)

Feather Pivot Table

I used these totals to cut out all of my fabric. I first cut into strips (from the Pivot Table) and then into the smaller sizes.

IMG_20160612_155643036

Next was assembly of the pieces. When I sew for paper piecing, I like to chain piece. I normally group pieces that have the same number of seams/stitches. Here is the set of pieces that all had 3 components with 2 seams total.

I continued the process with the other pieces. Next was assembly. I laid them out with the paper up to ensure I sewed them together correctly.

IMG_20160612_193543173

Here is the final result!

IMG_20160612_200157866_TOP (2)

Contact me through the Contact page if you’d like the pattern.


Paper Pieced Feather – Part I

Recently, I saw a dreamcatcher in someone’s window. It reminded me of the couple years I lived in New Mexico. It also got me thinking about making a dreamcatcher quilt. I decided to start with just a feather.

I first did some quick sketching. This drawing is only about 3 inches tall.

IMG_20160610_120444578 (2)

Next, I drew the feather bigger to fit on an 8.5 x 11 sheet of paper. I sketched this free form with a pencil.

IMG_20160611_085813024 (2)

Then, I used a straight edge to divide up the feather drawing into sections. These sections should correspond to the individual parts of the pattern needed.

IMG_20160611_090331604 (3)

I used my light box to trace the feather sections onto paper piecing paper. (It is a lighter weight paper.)


Before I kept going with drawing the pattern, I wanted to test out the pattern pieces. Here are the sample pieces and the results.


I was happy with the test pieces and then moved forward with creating the whole feather. I’ll show the rest of the process next week. See you then!

Lessons from Glamp Stitchalot 2016


I was lucky enough to attend Glamp Stitchalot in Ann Arbor last weekend. The event was put on by Pink Castle Fabrics and included 6 great instructors. I wanted to share the key lessons I took away from the weekend.

  • Curved piecing
    • I completed my first curved piecing based on the class from Violet Craft.
    • We used templates to cut the two curved pieces.
    • It was surprisingly simple. Three pins, a scant 1/8″ seam, and pulling the fabric outward as you sew.

IMG_20160604_121606857 (2)

  • Fussy cutting prints
    • I was familiar with the idea of fussy cutting prints to feature or center an image from the fabric.
    • The new concept around fussy cutting (from Elizabeth Hartman) was to fussy cut prints so that the pattern will match or flow across a block. This minimizes the disruption of the seams in the overall block.
    • Here is an example with the orange fabric in the block designed by Rashida Coleman-Hale.

IMG_20160608_201427426 (2).jpg

  • Different paper piecing techniques
    • It was great to get tips from the different instructors on paper piecing.
    • Don’t include a paper border around the outside. Penny Layman cuts the paper to the final size. Then when the block is all sewn together, trim the block with the 1/4″ seam. Here are two of the blocks from Penny’s row. I loved the mountain more than I thought I would. (Plus check out the fussy cutting on the mountain!)

IMG_20160603_204651852 (2)

  • Include the paper border around the outside but tear that paper when you sew blocks together. Carolyn Friedlander uses this technique so that she doesn’t have small amounts of paper to tear. Here are the two parts of the rows that Carolyn designed. I love how they look but not together. IMG_20160608_201400590 (2)IMG_20160608_201347904 (2)

I had a wonderful time quilting, spending time with friends and meeting new people. It has inspired me to start this blog and join Instagram. Check me out here.